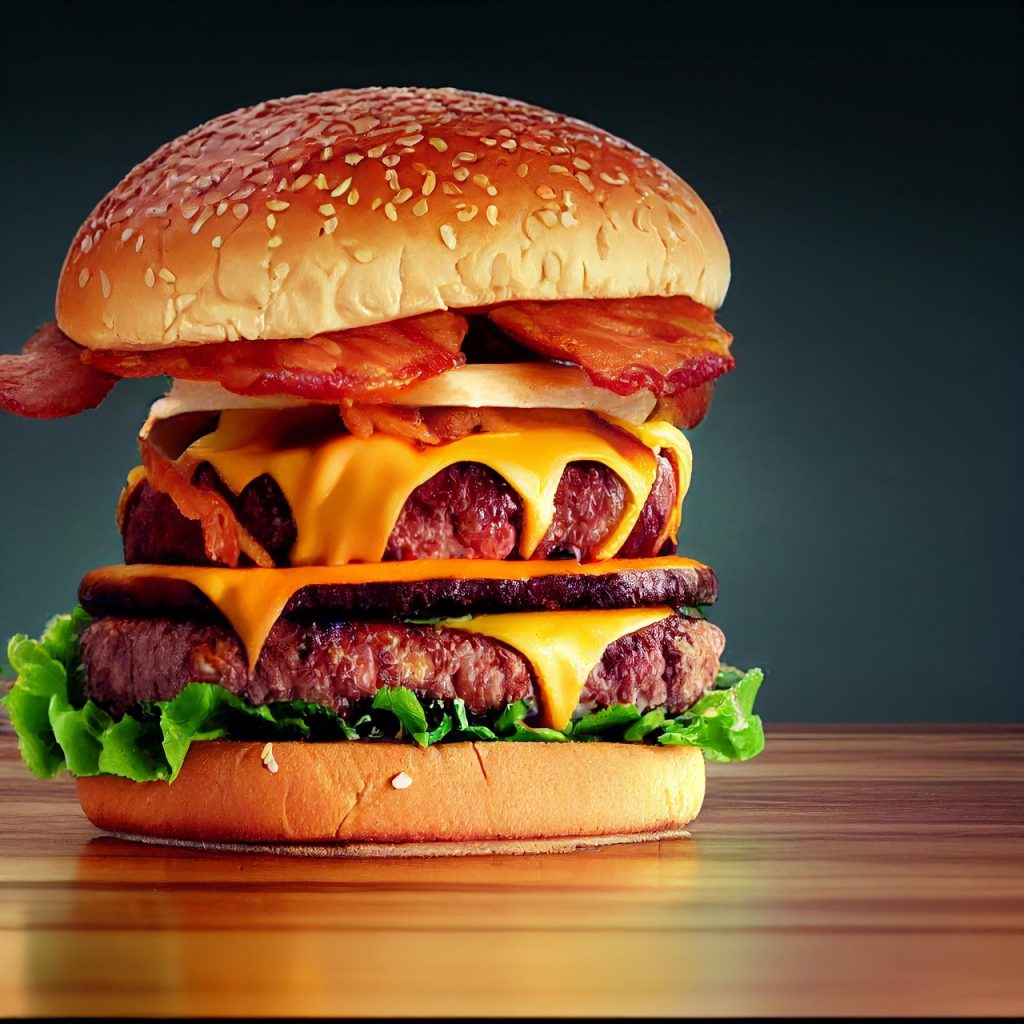
Few culinary pleasures rival the first bite of a well-made smash burger. That crisp, caramelized crust giving way to a juicy interior is the kind of contrast that makes taste buds sit up and take notice. While it may look simple, mastering the smash burger technique requires precision, timing, and a solid understanding of heat and texture.
The Science Behind the Smash Burger Crust
The secret to a perfect smash burger lies in one word: caramelization. More specifically, the Maillard reaction—a chemical process that occurs when proteins and sugars meet high heat. This reaction creates the deep brown crust and complex savory flavor that defines a great smash burger.
When you press the beef firmly onto a hot cooking surface, you increase direct contact. More contact means more browning. And more browning means more flavor.
Three elements are essential:
-
High heat
-
Maximum surface contact
-
Proper timing
Miss one, and the crust won’t fully develop.
Choosing the Right Ingredients for Maximum Flavor
Best Ground Beef for Smash Burgers
Fat equals flavor. For smash burgers, ground beef with a fat content of around 20% delivers the best results. Leaner blends tend to dry out quickly under high heat, while fattier mixtures create juiciness and help with browning.
Keep the meat loosely packed. Overworking it compresses the proteins and results in a dense, rubbery texture. Think gentle handling, not overzealous kneading.
Simple Seasoning Strategy
A smash burger doesn’t need a laundry list of spices. Salt and freshly ground pepper are more than enough. Season immediately after smashing to help the crust form properly.
Smash Burger Technique: Step-by-Step Guide
1. Preheat the Cooking Surface Properly
A heavy cooking surface retains heat and distributes it evenly. Preheat it until it’s extremely hot—almost smoking. If the heat isn’t intense enough, the meat will steam instead of sear.
2. Place and Smash Immediately
Once the meat ball hits the surface:
-
Smash it firmly within the first 10–15 seconds.
-
Use a sturdy spatula.
-
Apply strong, even pressure.
-
Hold for about 10 seconds to maximize contact.
Timing is critical. Waiting too long allows the exterior to cook before proper smashing, reducing crust formation.
3. Do Not Smash Twice
This is where many people go wrong. Pressing the burger again after the initial smash squeezes out juices and sabotages texture. Smash once—and let the heat do the heavy lifting.
4. Flip at the Right Moment
Wait until the edges turn deeply brown and slightly crispy. The burger should release easily from the surface. Scrape underneath firmly to preserve the crust, then flip once.
The second side cooks quickly—usually in under a minute.
Key Factors That Influence the Perfect Crust
| Factor | Why It Matters | Ideal Approach |
|---|---|---|
| Heat Level | Drives Maillard reaction | Very high, consistent heat |
| Meat Fat Content | Enhances browning and juiciness | Around 20% fat |
| Smash Pressure | Increases surface contact | Firm, even pressure |
| Timing | Prevents steaming | Smash immediately, flip once |
| Surface Material | Affects heat retention | Thick, flat cooking surface |
Common Smash Burger Mistakes to Avoid
Even small missteps can sabotage the crust. Watch out for these pitfalls:
-
Using cold meat straight from the refrigerator – Let it sit briefly at room temperature for more even cooking.
-
Overcrowding the cooking surface – This lowers temperature and causes steaming.
-
Underheating the surface – Without intense heat, browning won’t happen properly.
-
Overhandling the beef – Keeps the texture light and tender.
-
Skipping proper scraping when flipping – Protect that crust at all costs.
Avoid these errors and you’re already halfway to burger bliss.
Enhancing Texture and Flavor Contrast
A smash burger is more than just a patty. Texture contrast elevates the experience:
-
Soft, lightly toasted buns
-
Crisp lettuce or onions
-
A balanced sauce with acidity
-
Melted cheese that blankets the crust
The interplay between crunch, tenderness, saltiness, and slight sweetness transforms each bite into something memorable. It’s a symphony of textures rather than a one-note performance.
Why the Smash Burger Technique Works So Well
Traditional thick burgers prioritize internal juiciness. Smash burgers, on the other hand, celebrate surface area. By flattening the patty, you amplify the crust-to-meat ratio. Every bite includes more caramelized goodness.
It’s a simple equation:
More surface contact = More browning = More flavor
And when done right, the interior remains juicy despite the thin profile.
Perfecting the smash burger technique isn’t about fancy equipment or secret ingredients—it’s about understanding heat, timing, and restraint. Smash once. Flip once. Let the crust develop undisturbed. Respect the process and it will reward you with a burger that crackles at first bite and melts in your mouth moments later.
If you’re looking to elevate your cooking setup and consistently achieve restaurant-quality results, consider exploring the specialized tools and equipment offered by Ollie Sports Bar to take your smash burger game to the next level.