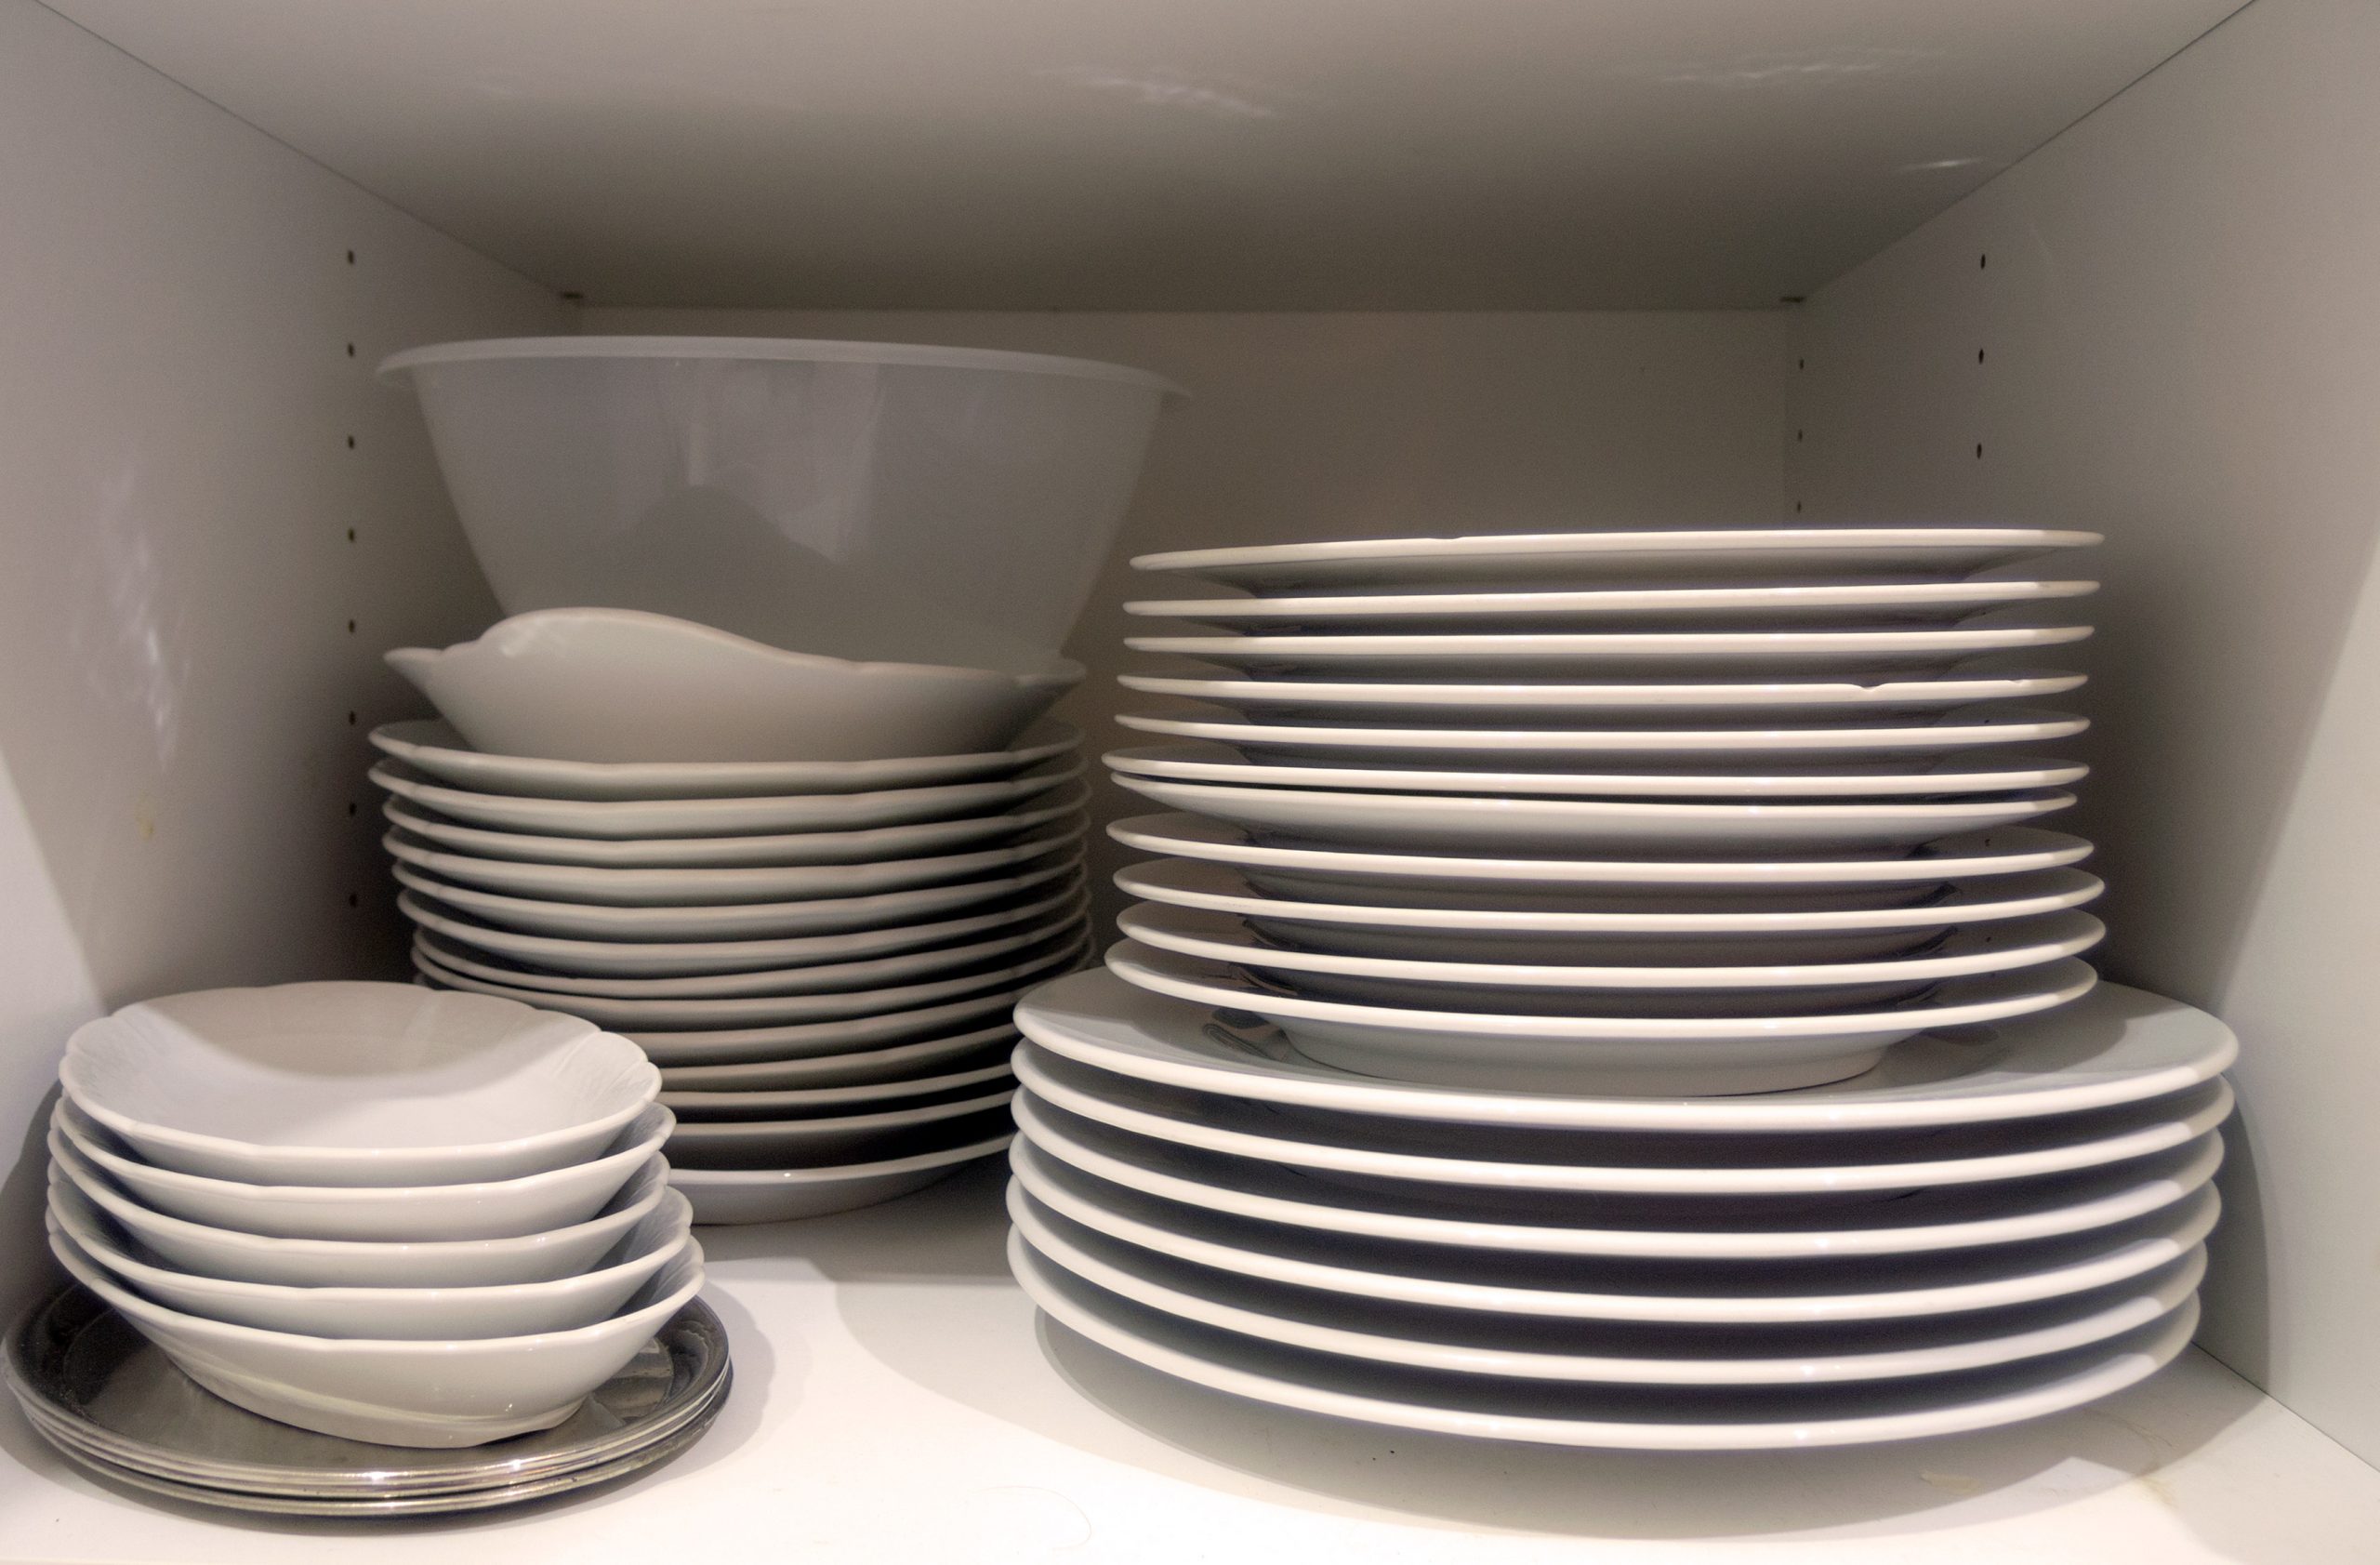
In the first article, we’ve talked about the importance and of course, the possibility of packing dishes securely no matter how far your breakables will travel – whether it’s a few miles across town or thousands of kilometers across the country.
In this section, we’ll go over the individual dish packing approach that’s recognized to provide the highest amount of security for your breakable kitchen objects. That packing method may appear to be slow at first, but after wrapping up a few kitchen dishes, you’ll be able to speed it up owing to its repetitive nature. In reality, as long as you follow a few basic safety standards and recommendations, you should have no trouble packing up your dishes for a move.
So, how do you pack plates for a move? If you follow these packing instructions, you should be able to complete the chore of packing your fragile belongings in no time.
Different Steps Required
Step 1:
Reinforce the bottom of each box you’re preparing to use to load your dishes for relocating. How? Even if the cardboard container is fresh new, tape the center bottom line of the box from the outside. Additionally, reinforce the sidewalls of the containers to be on the safe side and avoid any tragic instances of a box splitting under the weight of the packed china dishes.
Step 2:
Crumpled packing paper or newspapers should be used to line the insides of moving boxes.The objective is to produce a soft insulating layer that absorbs any shocks during the relocation voyage, keeping the packed kitchen plates as secure as possible. Skipping this preparatory step might jeopardize the entire packing operation’s safety. To add padding to the bottom of each dish packaging box, you can use sheets of bubble wrap or even bath towels in addition to paper.
Step 3:
Set up a packing station — this is where you’ll wrap your kitchen plates in paper and bubble wrap before moving them to appropriate boxes. It is suggested that you utilize the kitchen table for this purpose. Packing dishes on the floor is another alternative, but you’ll have to bend over all the time, putting extra pressure on your back and legs.
Step 4:
Stack the soft packing paper on the kitchen table. Remember that you don’t want to use newspapers since the ink from the paper might transfer onto the delicate surface of your precious kitchen goods. A roll of acid-free and ink-free packing paper should be more than enough to protect all of your porcelain dishes.
Step 5:
Place a fragile kitchen item in the center of the stack and cover it with a few sheets. Wrap the piece entirely by tucking the paper ends in the exact center of the plate, working diagonally from one corner to the next. Then, secure the paper bundle with a piece of tape.
Step 6:
Keep packing your kitchen dishes one at a time, following the basic dish wrapping procedure mentioned in Step 5. Because of the repetitious nature of wrapping numerous dishes in paper, you’ll be able to speed up the packing procedure after you’re done.
Step 7:
Consider putting an extra layer of bubble wrap on your most valuable and pricey sets of kitchen dishes. A single piece of bubble wrap added over the paper bundle will ensure the protection of those extra-fragile things. Use tape to bind the top bubble-wrap layer once again.
Step 8:
Transfer the wrapped-up dishes, one by one, into the dish boxes. The right way to arrange your kitchen breakables is to place them inside the moving containers on their edges, never flat. Another dish packing tip to remember is that heavier dishes should always go at the bottom of the box, while lighter, more delicate kitchenware should go on top.
Step 9:
To immobilize the whole product, fill in any leftover holes inside the fish packaging boxes. Add bits of paper, leftover sheets of bubble wrap, or old garments to the mix. Your task is to guarantee that no kitchenware item moves within the container throughout the move.
Step 10:
Lift the container off the ground and gently shake it in the air to see if you were successful in immobilizing the kitchen plates contained within each box. Ideally, there should be no movement inside the dish box. If you do, then cover any leftover spaces with additional paper or bubble wrap.
Step 11:
Apply a last layer of protecting paper or bubble wrap to the very top, then close the lid and seal it completely with packing tape.
Step 12:
And, the last step consists of labeling each dish box that has been packed.